Shell Scheme Exhibition Stand: How to Upgrade a Basic Booth into a Premium Space
Are you participating in an upcoming trade show and feeling overwhelmed by the idea of decorating a basic shell scheme exhibition stand? Facing a standard, uninspiring white box can be a major point of stress for brands wanting to capture visitor attention and stand out from the competition.
While a shell scheme provides a cost-effective, pre-built framework of walls and fascia boards, the real secret to trade show success is hiding this metal grid. In this guide, we will break down the standard dimensions you need to know and how to apply seamless shell scheme graphics to transform your basic space into a bespoke brand experience.
What does a standard modular package include?
A shell scheme is a pre-erected, modular booth framework provided by event organizers to exhibitors. It essentially gives you a basic blank canvas consisting of walls, flooring, and a name board so you do not have to build a structure from scratch.
Most trade fairs offer this as the most cost-effective package for smaller or first-time exhibitors. However, your main goal as a professional exhibitor is to hide the structural framework and customize it so it looks completely bespoke.
What are the standard dimensions and components?
Before planning your design, you must understand the anatomy of your booth and its individual parts. A typical package includes several standardized components that you need to measure perfectly to avoid costly printing mistakes.
Modular MDF wall panels
The walls are typically made of white MDF panels held tightly together by a vertical aluminium grid. The most common standard dimension is a 1-meter width per panel by 2.4 meters high.
Visible graphic area
The actual visible space for graphics is slightly smaller than the total panel size due to the metal frame. You must account for this reduced printable area to ensure your artwork is not cut off by the structure.
Aluminium fascia board and nameplate
At the top of the open sides, organizers place an aluminium fascia board featuring your company name and booth number. This structural element helps attendees navigate the exhibition hall easily.
Metal poles and framework
The entire structure is supported by vertical aluminium poles that typically have a 40mm diameter. These poles stand proud of the panels, breaking up the continuous visual space unless you use specific clips.
Basic lighting and power outlets
Most packages include simple track lighting or spotlights attached directly to the upper framework. You will also get a standard power socket, which is vital to consider early for your AV displays.
| Component | Standard Dimension / Detail |
|---|---|
| Modular MDF wall panels | 1000mm wide x 2400mm high (approx) |
| Visible graphic area | 950mm wide x 2340mm high |
| Aluminium fascia board | 300mm deep across open sides |
| Metal poles | 40mm diameter (approx) |
| Lighting and power | Track lighting and 1 standard socket |
Should you book a shell scheme or a space only stand?
Choosing between a pre-built structure and a space only stand is a critical operational decision. To make the right choice, you need to evaluate your exhibition strategy based on three professional criteria.
Budget and overall cost-effectiveness
A pre-built package is highly cost-effective because the structural rental is already included in your floor space ticket. On the contrary, a space only agreement requires a significant extra budget for bespoke architectural construction and rigging.
Design flexibility and visual impact
If your goal is to have a completely unique shape or a double-decker structure, space only is mandatory. However, modern printing solutions can make a customized modular booth look almost as impressive for a fraction of the price.
Setup time and logistics
Pre-erected booths offer stress-free logistics, as the walls and flooring are ready when you arrive at the venue. Space only demands complex risk assessments, earlier access to the hall, and a dedicated professional contractor team to build safely.
How to upgrade your booth using shell scheme graphics
The biggest challenge for exhibitors is overcoming the cheap “cookie-cutter” look of the basic white panels. Here is a step-by-step breakdown of the best graphic solutions to elevate your visual presence and hide the metal grid.
Standard panel-based graphics
The simplest upgrade involves printing individual graphics that fit exactly inside the aluminium frame of each panel. This keeps your production costs low but leaves the metal posts visible between your images, breaking up your overall design.
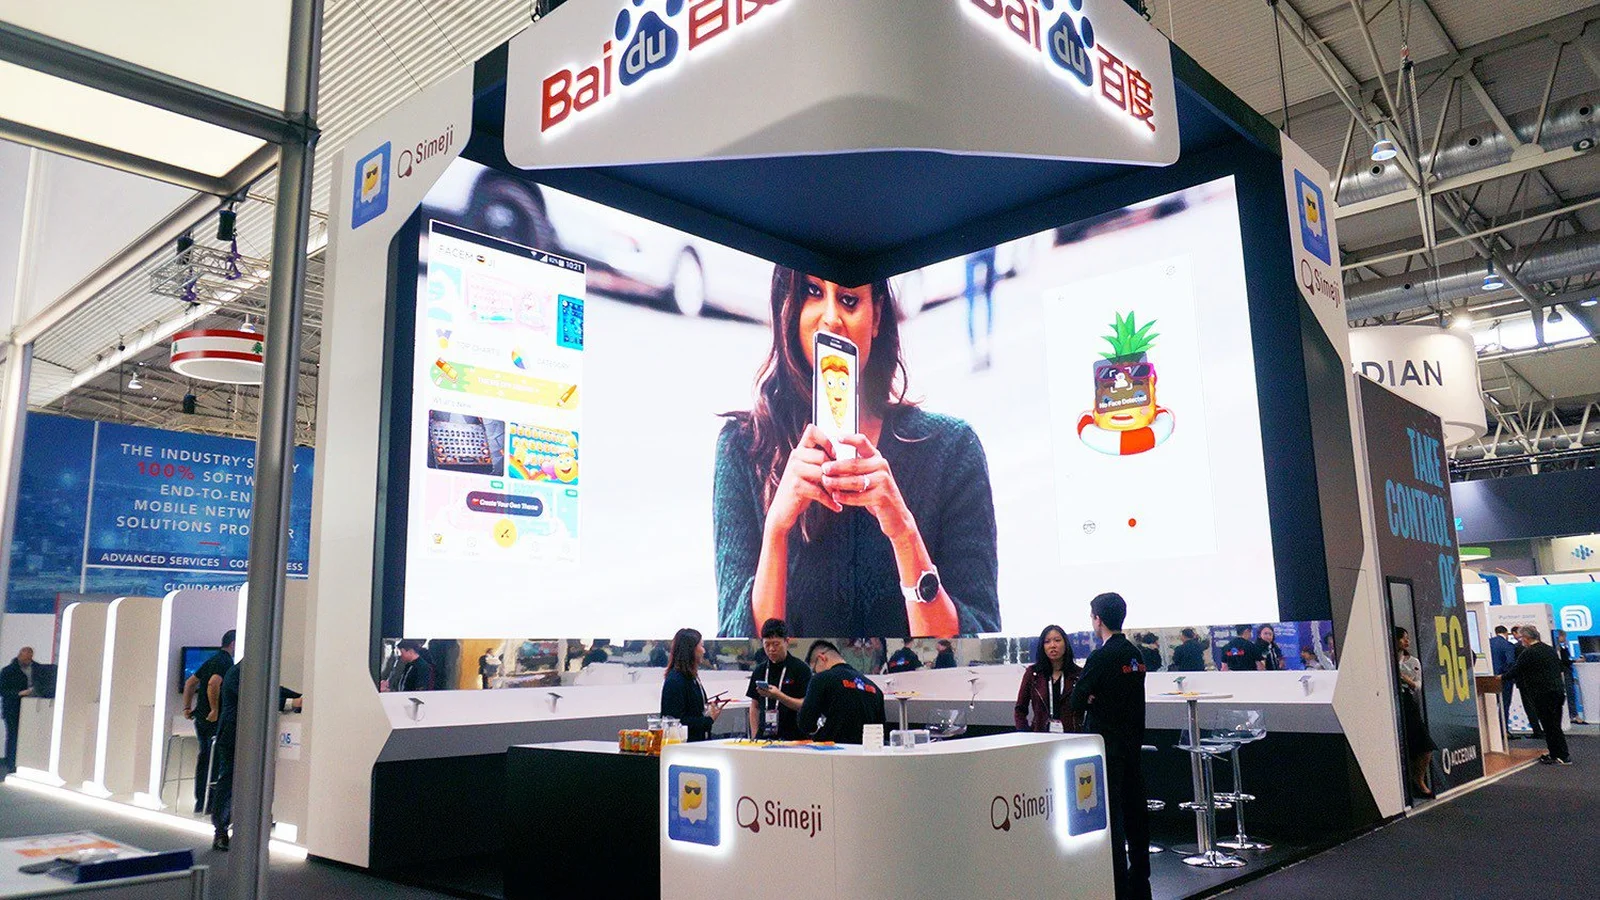
Seamless shell scheme graphics
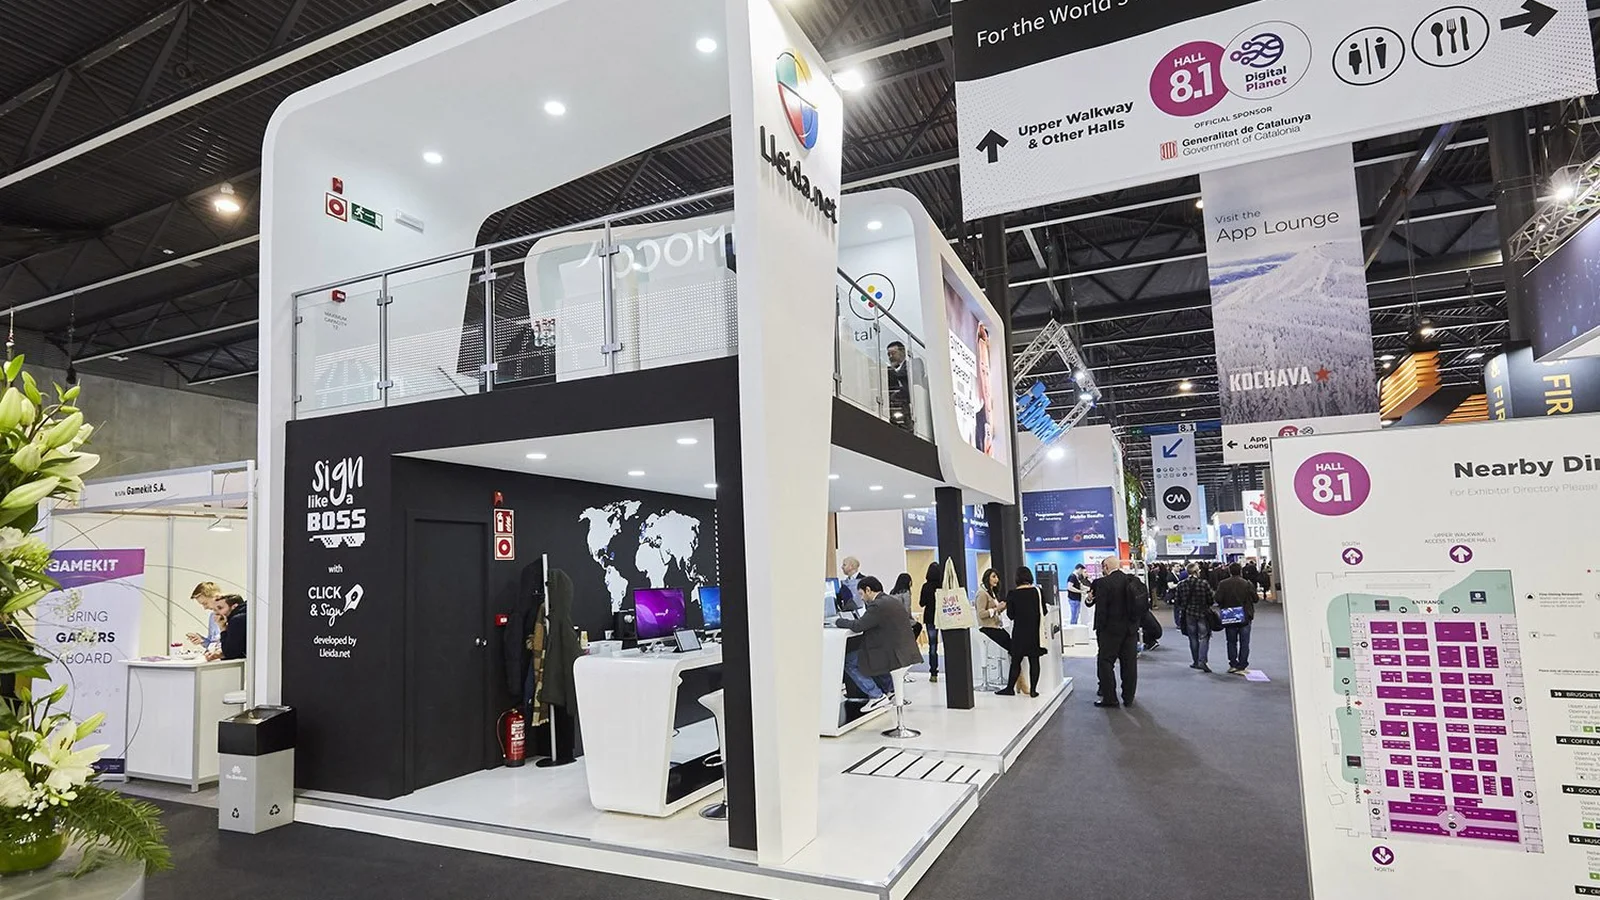
For a premium look, professionals use seamless shell scheme graphics that cover the entire wall, hiding the metal framework completely. This creates a continuous visual impact, making your basic space look exactly like an expensive custom build.
Shell clad clips for aluminium poles
To achieve that seamless finish, installers use heavy-duty plastic shell clad clips that slot directly into the aluminium pillars. These clips hold your rigid panels securely, transforming the structure quickly without damaging the organizer’s rented property.
Which materials are best for your stand walls?
Once you decide on the graphic layout, selecting the right printing material is vital for visual quality and transportability. Let’s analyze the three most popular material choices used by professionals for trade show walls.
Rigid Foamex panels
Foamex is a highly durable, lightweight PVC board that offers a fantastic, premium matte finish for your artwork. It is the absolute industry standard for seamless graphics, giving your booth a solid, architectural wall appearance.
Rollable PVC and vinyl graphics
If you are traveling internationally, rollable PVC panels are incredibly convenient because they fit easily into portable transport drums. They attach quickly to the walls with magnetic tape and are highly reusable for future shows across different venues.
Tension fabric displays
Tension fabric consists of a printed textile stretched over a hidden frame, completely eliminating annoying glare from the venue’s lights. It is highly eco-friendly, washable, and folds down into a small bag, saving you massive amounts in shipping costs.
How much does a customisation cost?
The final cost of upgrading your space is highly variable and depends entirely on the level of customisation you want to achieve. Whether you are looking for a simple panel upgrade or a premium fabric presentation, the total investment adjusts to your specific choices.
Because every project and exhibition hall is unique, there is no one-size-fits-all price tag for a fully branded booth. Basic graphic sets can be highly affordable, while complete seamless transformations require a slightly larger marketing budget.
However, by pairing your modular frame with smart graphic design, you can easily trick passing crowds into thinking you invested in a completely bespoke architectural build.
Build the perfect shell scheme exhibition stand with Contemporanea Eventi
In summary, starting with a basic modular frame does not mean you have to settle for a boring commercial presence. By understanding the structural dimensions and applying seamless graphics, you can easily create a truly standout, professional space.
Do not leave your brand’s image to chance by relying on the standard white walls provided by the trade show organizers. Partnering with an expert design agency ensures a flawless execution that actively draws your target audience into your booth.
At Contemporanea Eventi, we specialize in transforming standard spaces into premium, high-converting brand experiences. Contact us today using the form below to get a custom design proposal and expert guidance for your next international fair!
Let’s create something unique
Contact our team of experts to start designing your exhibition stall.